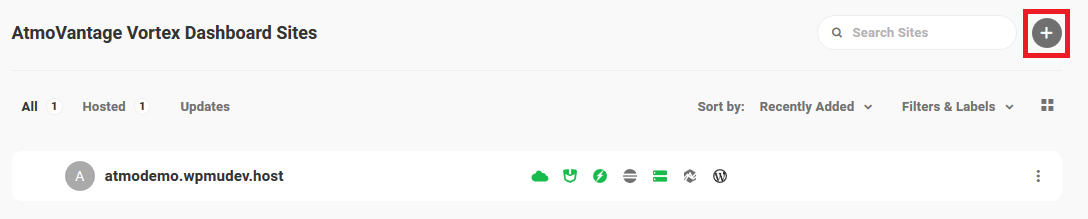
Adding a Website to the Dashboard
- Click the "+" button to connect a new website to your Vortex Dashboard
- You will then be presented with 3 different options:
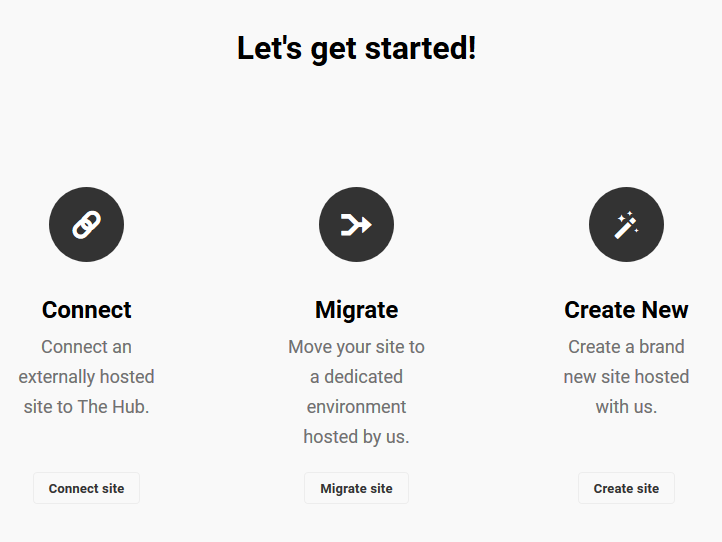
- Connect
- Select this option to connect an existing WordPress site that is hosted elsewhere and you do not want to change your hosting provider (ex. website is currently hosted with Bluehost and you want to keep your website hosted with Bluehost)
- Migrate
- Select this option if you have an existing WordPress site that is hosted elsewhere and you wish to migrate your website from your current hosting provider to AtmoVantage's dedicated cloud hosting platform (ex. website is currently hosted with Bluehost but you wish to cancel with Bluehost and migrate your website to AtmoVantage instead)
- Please note hosting with AtmoVantage costs extra depending on your hosting package!
- Create New
- Select this option if you want to create a brand new website from scratch and host it on AtmoVantage's dedicate cloud servers.
- Please note hosting with AtmoVantage costs extra depending on your hosting package!
Connecting an Existing Website to Vortex Dashboard
Click "Connect site" button
Choose the connection method
Automatic is the easiest. Just enter your WordPress admin credentials for your website.
Enter your website URL
Enter your admin credentials
If successful you will be redirected to the Vortex Dashboard and will see your connected website
Manual requires you to download the plugin, then install and activate it on your website.
Download, install and activate the plugin in the Plugins
section of your WordPress Admin Dashboard. If the downloaded file gets
uncompressed, make sure to compress it before uploading it to your
website.
After you have installed and activated the plugin, navigate to the new
plugin on your sidebar. From there, you will need to enter your account
credentials to connect your website to The Vortex Dashboard.
Manage Your Website from The Vortex Dashboard
Once your credentials have been verified, you will be able to view and manage your website inside The Vortex Dashboard.
Related Articles
Setting Up Your New Vortex Account
Sign-up for the Vortex Dashboard Free Trial AtmoVantage will then create your user account and send you the invitation email (please allow up to 1 business day) Click the "Confirm" button to accept the invitation. Set your name and password for your ...
Activating Premium Plugins & Services
Depending on your Vortex Dashboard plan you may have access to install a number of different premium plugins and services on your Vortex Dashboard websites. Premium Plugins Smush Pro (image compression and optimization) Hummingbird Pro (website speed ...